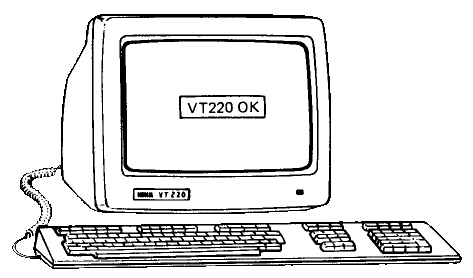
first published on iSticktoit.net on 26th October 2016

I bought an actual serial terminal. It is many years older than I am, and can display 24 lines by 80 (or 132) colums of text.
My workflow is quite terminal centric: Work for Uni is done with vim over ssh, emails are read with mutt, and ncmpcpp provides the front end to my music. If it weren’t for the Internet, I’d ditch the display server without batting an eye.
Not everything is as golden as the glow of the amber tube: No colors, no Unicode, not the best keyboard out there – but on the other hand, the absence of most those „features“ is oddly pleasing. There are far less distractions, which is great!
Setting up the terminal was relatively easy, but not without its caveats. What you need besides the device itself, is a fitting keyboard (LK201 or LK401), a USB to serial adapter and a null modem cable. The latter two can be purchased for very little money from your online vendor of choice. If you are like me, and can’t wait for your nullmodem cable to arrive, get yourself a DB25 and a DB9 female plug and solder them together using some wire and this helpful guide.
Also don’t forget to make sure to set the terminal to use the ‚EIA Port‘, which is the DB-25 serial port, and enable ‚Modem Control‘ to use hardware flow control (that will prevent garbled characters). The VT220 supports a VT100 compatibility mode, which you should try out first. Afterwards, I’d set the mode to VT220, 7-Bit controls, which gives you a larger charset (ISO-8859-x), but comes with some caveats.
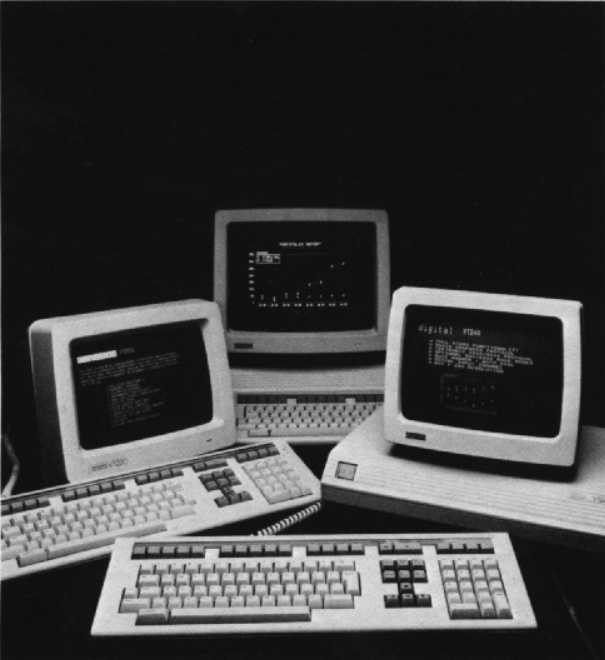
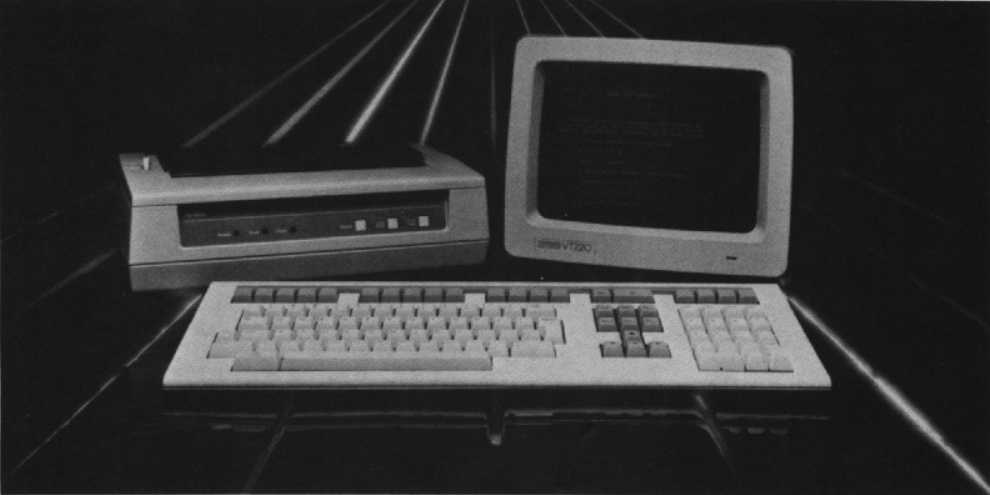 A Typical VT220 Workstation of the Day
I will be using my VT220 with my Thinkpad T450s, running Fedora 24, but I will try to keep the instructions as distro-independent as possible, as I am also experimenting with a VoCore running OpenWrt.
The first thing we will look at is the systemd service serial-getty, which is responsible for pushing a shell to the terminal. The defaults are – well, rather generic. For maximum performance, we will need to be tweaking them a little.
(The optional zeroth step of creating an udev rule to assign the serial adapter a specific device file, is a good idea, but not necessary and therefore omitted.)
First, create a copy of the generic serial getty service, and symlink it to where systemd expects it (all of the following commands assume being run as superuser).
cp /usr/lib/systemd/system/serial-getty@.service /etc/systemd/system/serial-getty@ttyUSB0.service
ln -s /etc/systemd/system/serial-getty@ttyUSB0.service /etc/systemd/system/getty.target.wants
You will need to modify the line beginning with ExecStart to look like this:
ExecStart=/sbin/agetty -8 -L -h 19200 %I vt220As you can see, I have chosen the fastest baud rate available on the VT220 and am also using VT220 mode.
You will most likely have to set those things by pressing F3 to enter the menu on your DEC terminal. The baud rate can be set in Comm, and the mode in General. Use the ENTER key on the numpad, as the main return key won’t work in the menu.
Next, make systemd aware of the changed service, and enable and start it.
systemctl daemon-reload
systemctl enable serial-getty@ttyUSB0.service
sudo systemctl start serial-getty@ttyUSB0.service
On Fedora and other SELinux-enabled distributions, SELinux will interfere with spawning a shell on the terminal, as can be seen with systemctl status serial-getty@ttyUSB0.service. The fastest way to bypass this is by disabling SELinux alltogether (although you should add an exception rule and enable it to not compromise system security, if that is a concern for you). To temporarily disable SELinux, enter sudo setenforce 0.
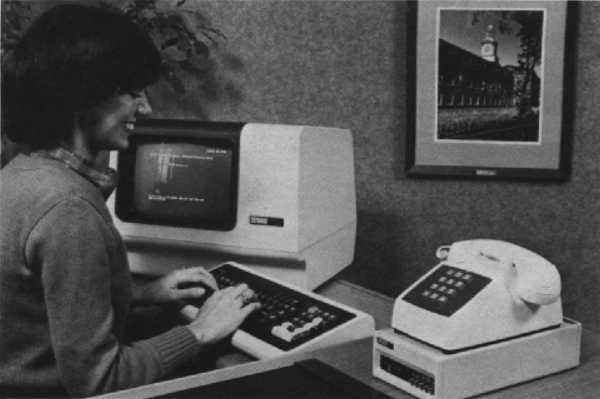
Now after you successfully installed your VT220, what can you do on it?
Here’s what I mostly use it for:
vim ssh, vim, zsh mutt mopidy and ncmpc links nethack – the greatest RPG. Period. bsdgames package.Of course, this isn’t the only sofware able to perform these tasks and these tasks are not the only thing one can do without XOrg or Wayland.
If you want a quick demonstration of the VT220’s capabilities, maybe try those textfile-animations, (ab)using Control Sequences to redraw the screen. (Baudrate: 9600)
Some of the software I use on my emulated terminal, running inside X, I wasn’t able to get running. The most prominent example of that is ncmpcpp, the enhanced version of ncmpc. My terminal apparently tries to send some keys to the computer, which get interpreted as commands by ncmpcpp, and just make a mess on the screen and beeps constantly. The VT220 also didn’t like my .vimrc, set ttimeoutlen=1 to be exact (but I only need that on X anyway).
My Term needs some cleaning up: It has been sitting in a warehouse for eight years (according to the last testing date) and therefore gotten quite dirty. From its years in active duty, the VT220 has also yellowed quite a bit. Some hydrogen peroxide (also known as retr0bright) will fix that.
And then I want to finally learn TMux or GNU screen, because that is exactly what those programs were designed for.
Also, I definetly have to learn some Compose Key Sequences, because with the German keyboard layout, those are necessary to type basic symbols like the pipe (Comp. + / + ~ = |) or backslash (Comp. + / + / = \)
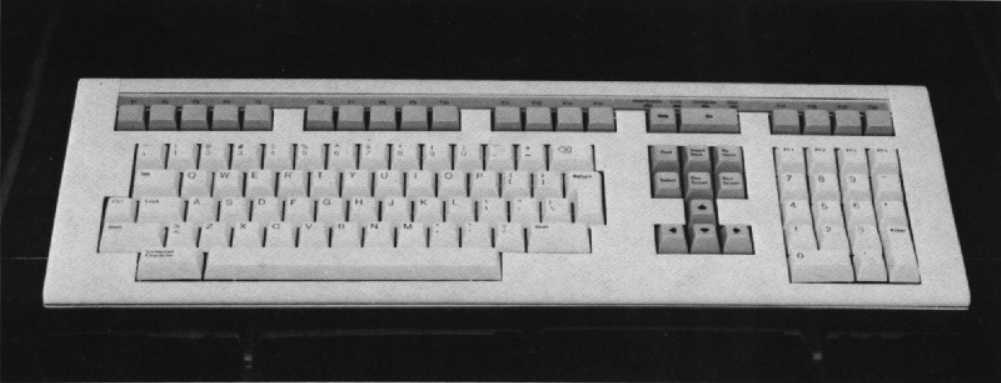
That is the one thing that buggs me: As vi user, I heavily depend on the ESC key, but the VT220 doesn’t have one. In VT100 mode, using F11 is quite simple, but you’ll miss out on the enhancements made in the VT220. CTRL-3 is the only way to generate a raw ESC character there. As many other people have done before me, I remapped ESC to jj or TAB in vim.
Surprisingly, I am not the only nutter to still use (and buy even) old terminals like the VT220. Reddit has a large community around Retro Battle Stations, Hacker News has featured a few Terminals mostly connected to Macintosh Computers, and comp.terminals on the Usenet is still active and has many threads about pretty much any terminal in its archives.
VT100.net has a large collection of manuals and documents of many different types of serial terminals, and the MANX search engine helps you find manuals on other websites (the Internet Archive helps ressurect broken links).
As always, I recommend to check out HackADay, who have featured terminals from time to time.
This guide will help you set up a terminal with a Raspberry Pi.
I have also made Two small scripts to help you get a serial console running quickly.
If you are not yet confident in spending your hard earned money on 30 year old equipment, for which no support and hardly any spare parts exist, a very cool retro terminal emulator, appropriately named cool-retro-term exists, that looks just beautiful. (A iOS/OSX Application called ‚Cathode‘ also exists, but I can’t vouch for that)
You can also use XScreensaver’s Apple2 or Phosphor screensavers in stand-alone interactive mode, by running $(find / -name apple2 2>/dev/null|grep '/xscreensaver/') -text -fast -program $SHELL or $(find / -name phosphor 2>/dev/null|grep '/xscreensaver/') -text -fast -program $SHELL, respectively.
You might noticed the font I used; it is Glass TTY by Viacheslav Slavinsky – it is a pretty accurate rendition of the one on the VT220.

Despite some websites being virtually impossible to use on a text-only browser, there are some websites I genuinely enjoy using on such a browser. Here’s a selection:
comp.terminals — Usenet GroupP.S.: Yes, this article was typed on my VT220 using vim, and researched using links! One has to commit to such a device 😉
Font used: Glass TTY by Viacheslav Slavinsky
All images (except last) from „Terminals & Printers Handbook„, © 1983 Digital, Inc.; Fair Use for review purposes